How to Customize your site
Go to Products => Product Categories and select categories you want to Edit or create a new one.
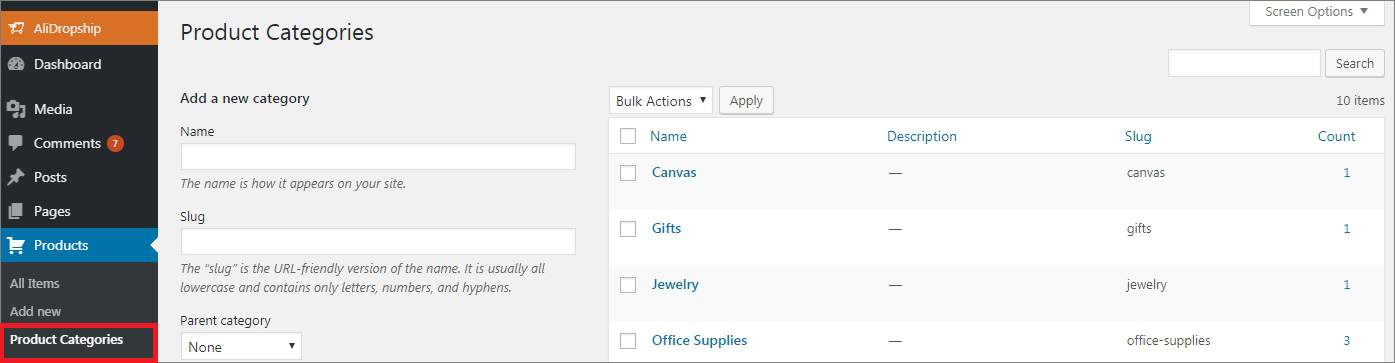
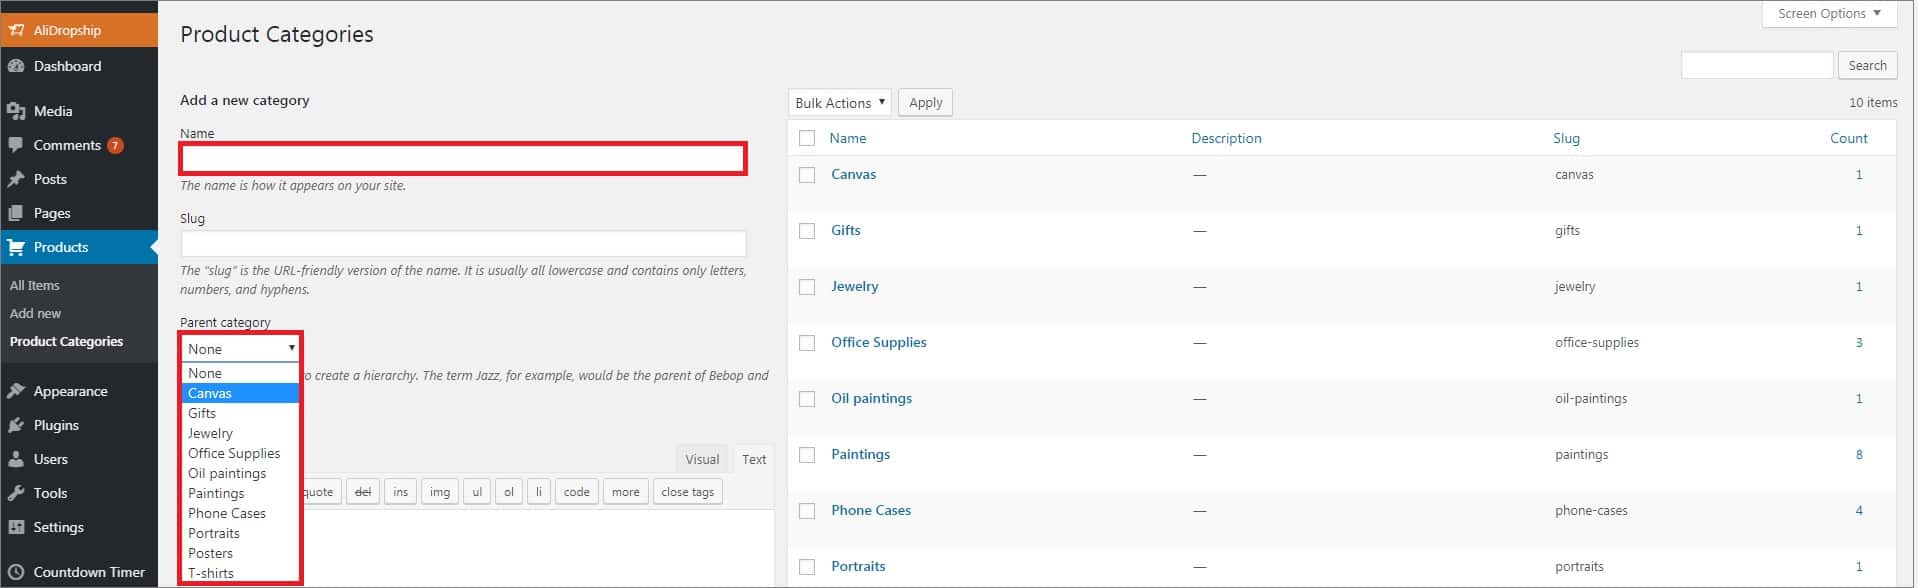
To create a subcategory, add its name and select the corresponding parent category. Click Add a New Category.
Once your product categories are created, you can proceed with organizing your website menus. There are 5 of them available in the DaVinci theme: Top Menu, Main Menu and three Footer Menus.
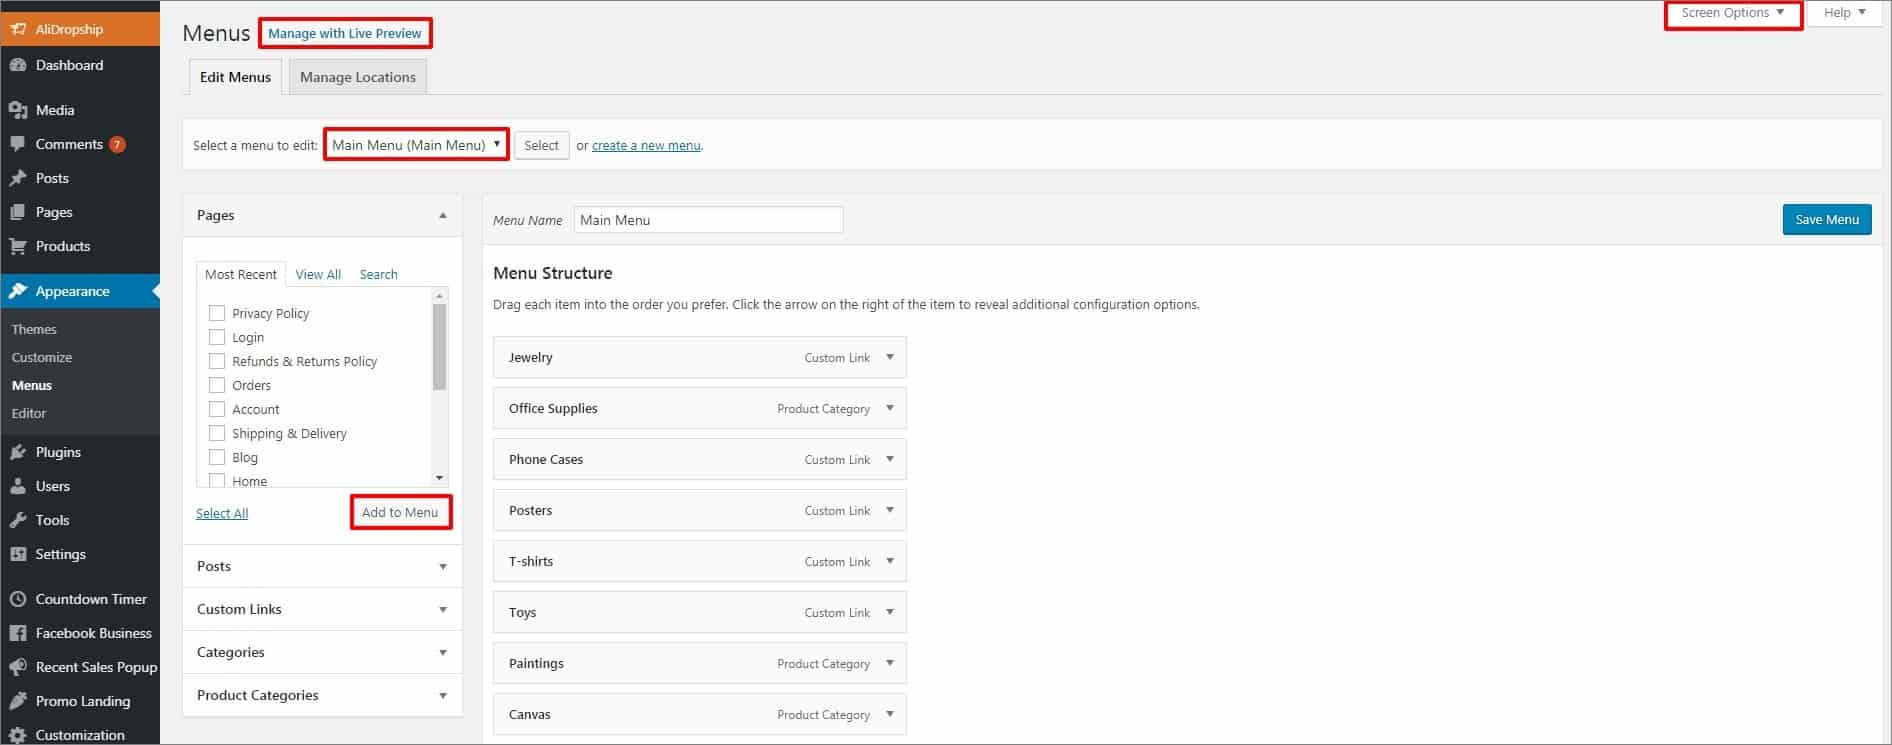
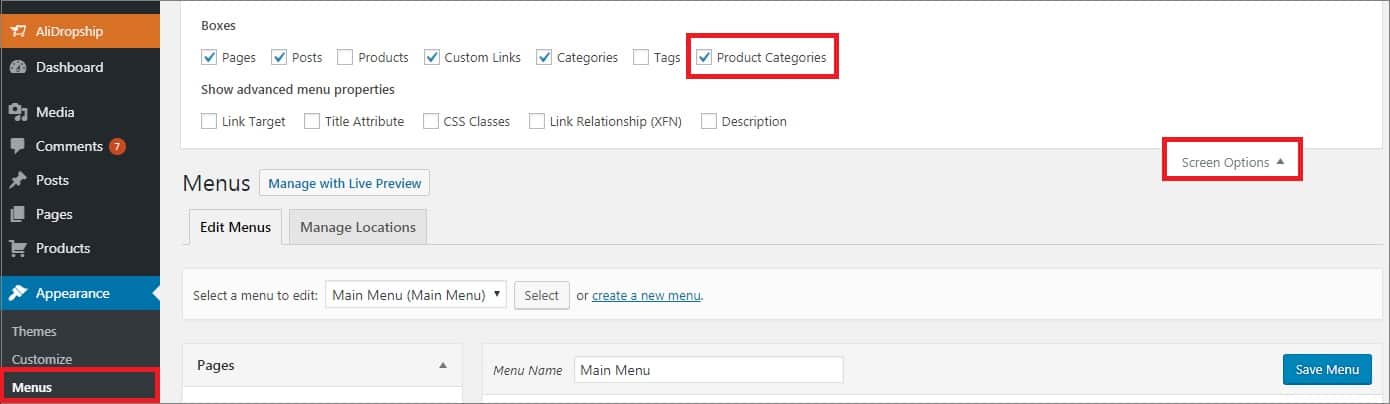
To manage them, go to Appearance => Menus and select a menu to make changes to or create a new one. Check items, which should be added to you menu, in the left-hand sidebar. To make sure you see all groups of items, click Screen Options at the top of the page and check groups you want to add to menu.
Drag items to change their display order and move them to the right to make sub items. You can edit them by clicking the down arrow symbol.
As a rule, website menus are organized as follows:
- Top Menu consists of pages (About Us, Contact Us, Blog, etc.)
- Main Menu consists of product categories
- Footer Menu 1 consists of Company Info pages
- Footer Menu 2 - Purchase Info pages
- Footer Menu 3 - Customer Service pages
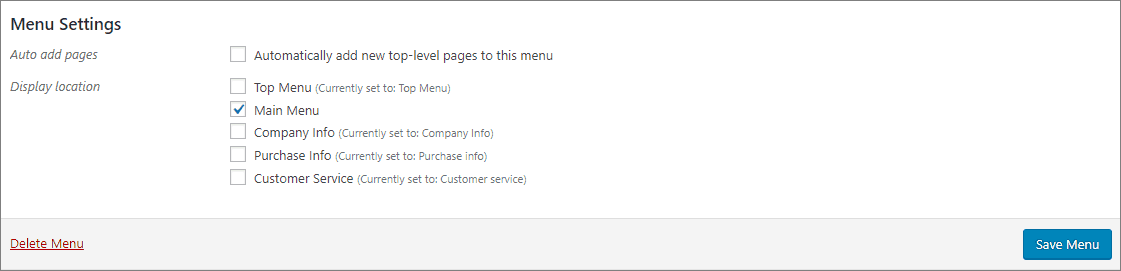
After you have finished editing your menu, check desired display location at the bottom of the page in Menu Settings. Click Save Menu.
NB: to show number of products in Main menu, uncheck the Main menu option.
Alternatively, you can use Manage with Live Preview at the top of the page to see changes on your website front-end as you make them.

All your product categories will appear in alphabetical order automatically on your Category page.
Customization
To adjust theme customization settings to your needs and modify your website appearance, go to Customization.
General
You can edit some basic configuration settings such as adding default pages and menus, enabling Image LazyLoad and changing template colors.

The theme is compatible with RTL languages. To enable RTL-compatible layout, go to General => Right-to-left layout block and enable this option. By doing this, you ensure your website looks fine when you switch it to an RTL language.

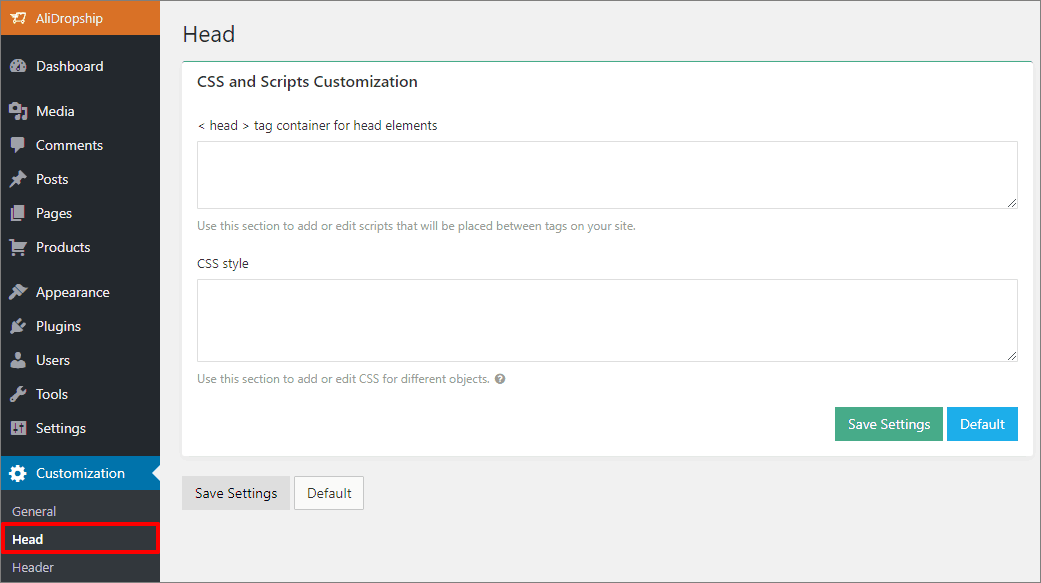
Head
You can add and edit scripts and styles in Head.
Header
Go to the Header section to change your logos and contact information.

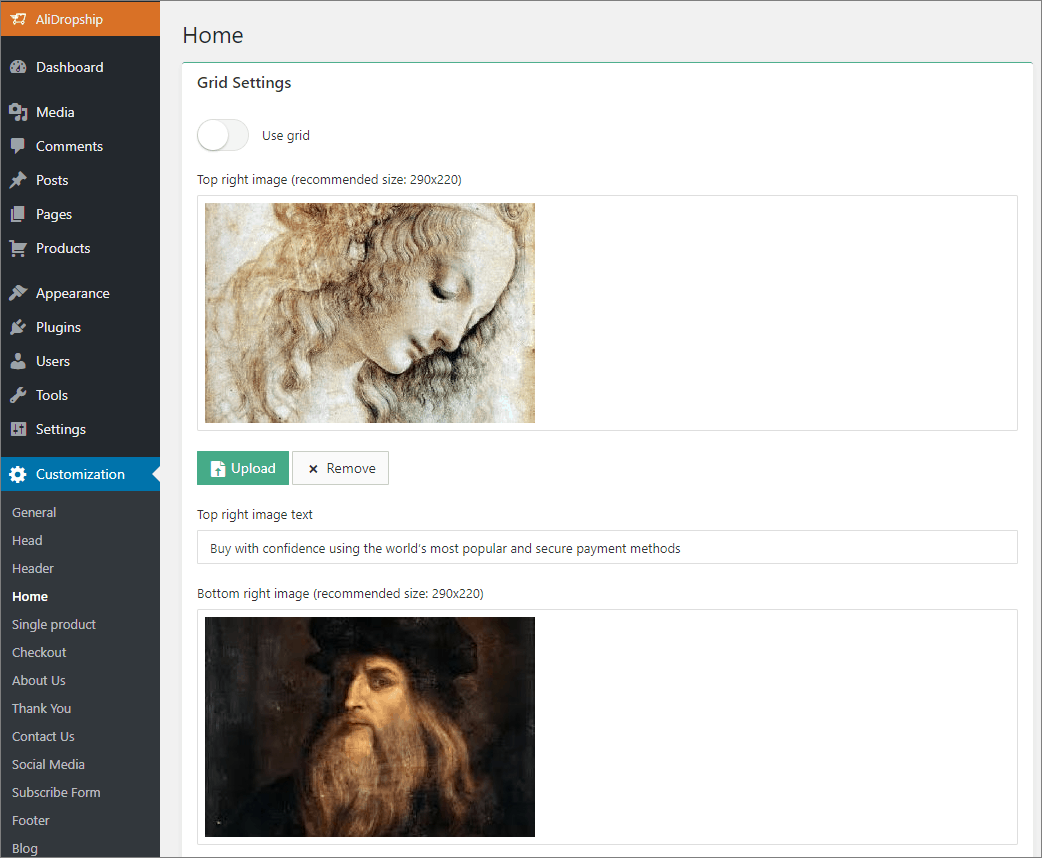
Home
You can modify the way your homepage looks like: change buttons color (for example, Shop now), paste your YouTube video ID, manage promo (sale) counter, etc. To change your grid images, click the Upload button, select files from your media or upload a new one from your computer.
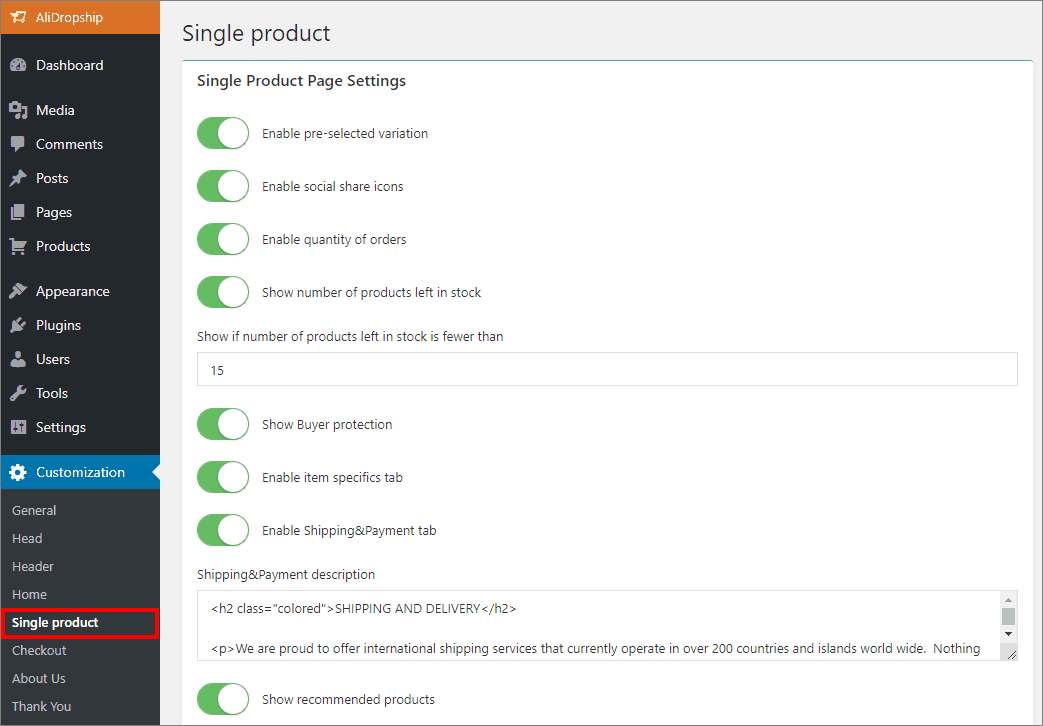
Single product
Manage your single product page in the Single product tab: enable product information tabs, make social media icons appear, add Leave a review box and many more. Here you can edit 'Shipping & Payment' text as well.
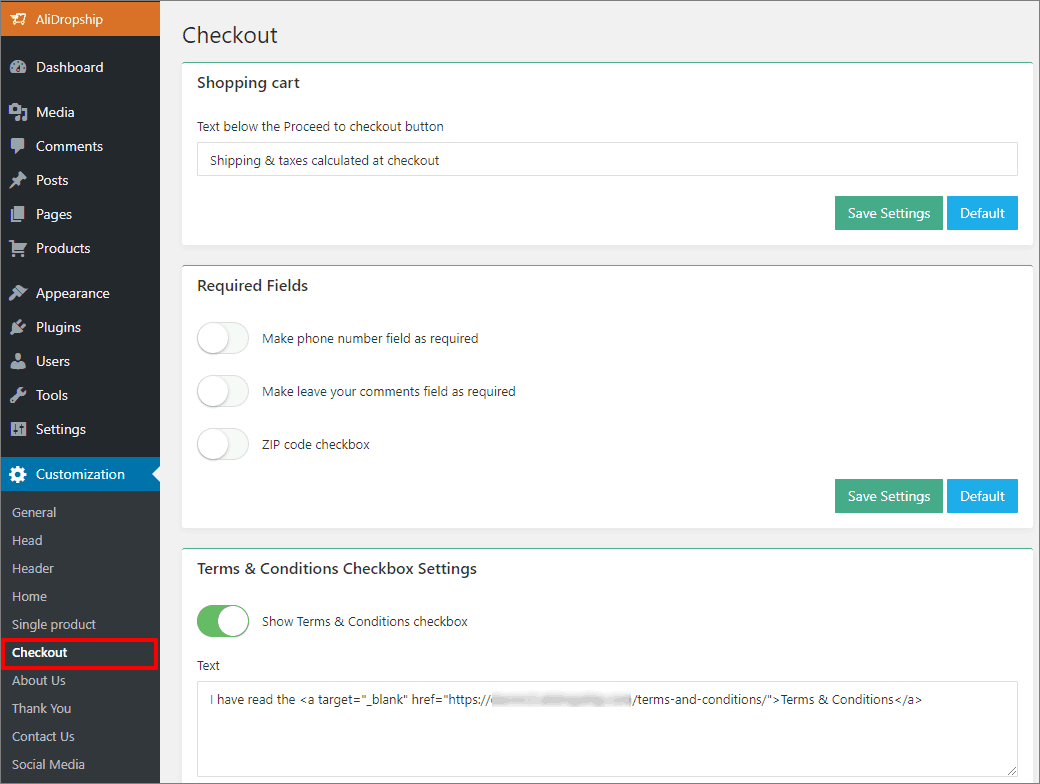
Checkout
Customize your Checkout page and side Shopping cart.
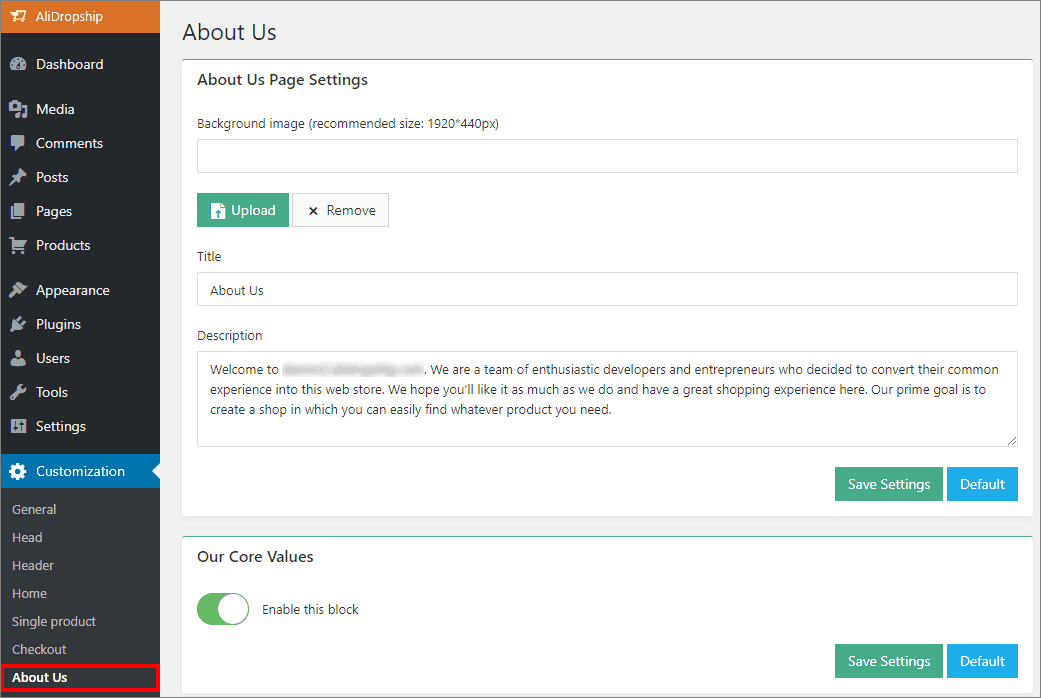
About Us
Tell your customers more about your company.
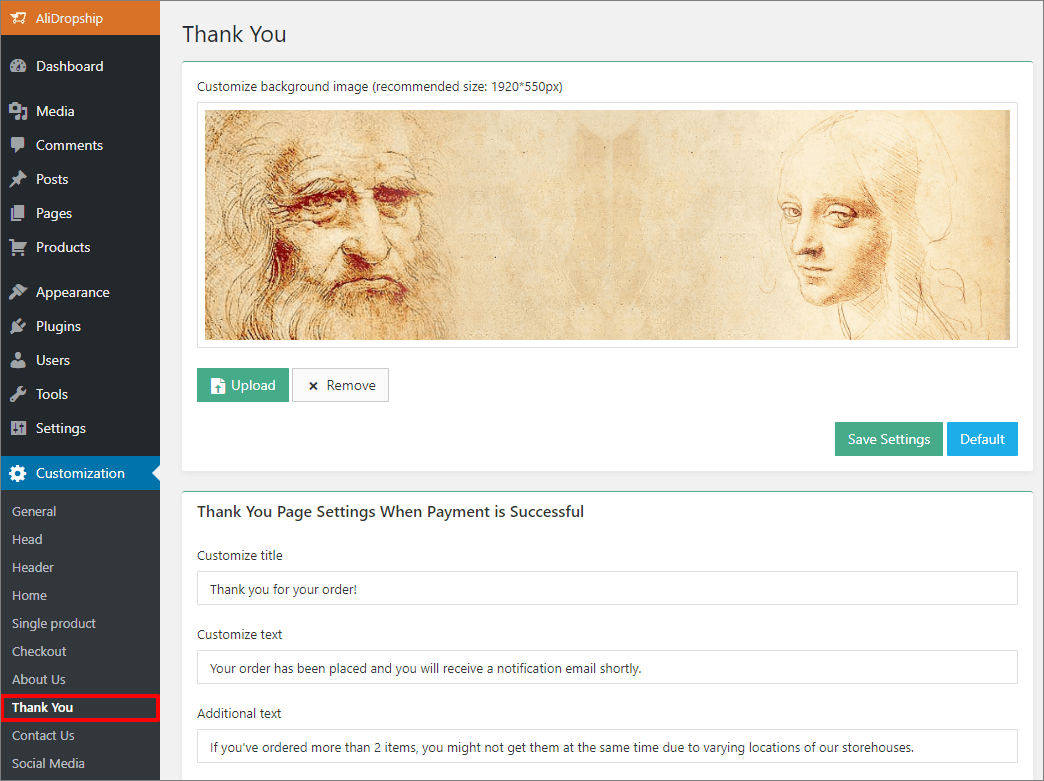
Thank You
You can edit text which is shown to your client when a payment is complete or it failed and add conversion tracking scripts.
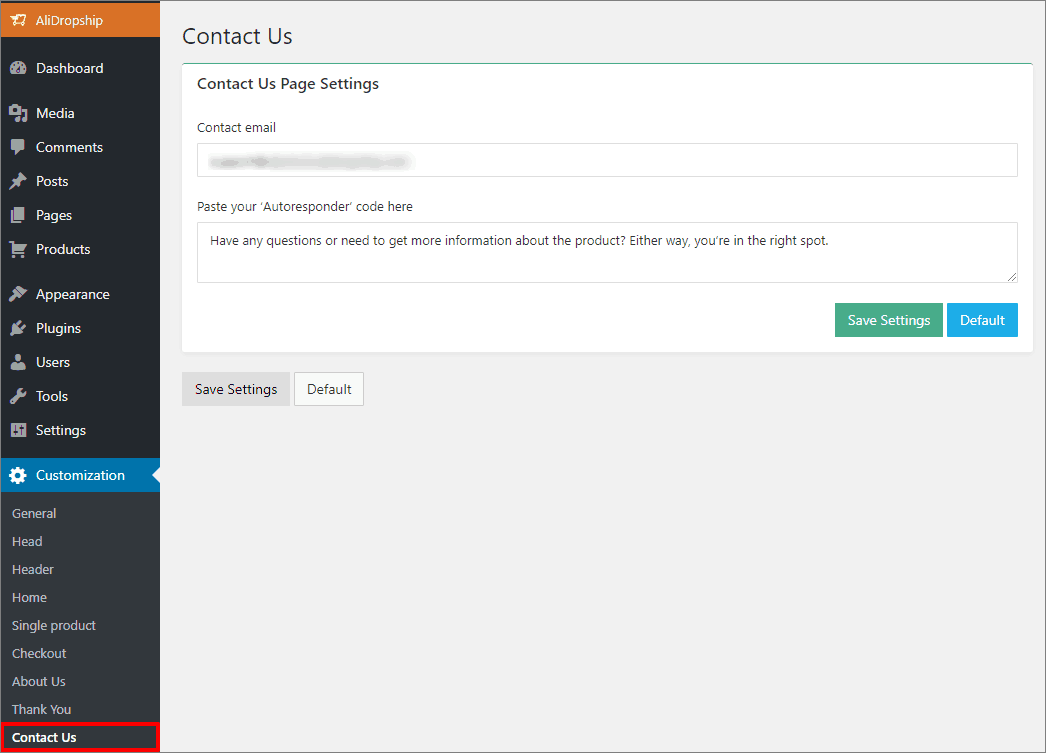
Contact Us
Edit text displayed on the Contact Us page above your contact details.
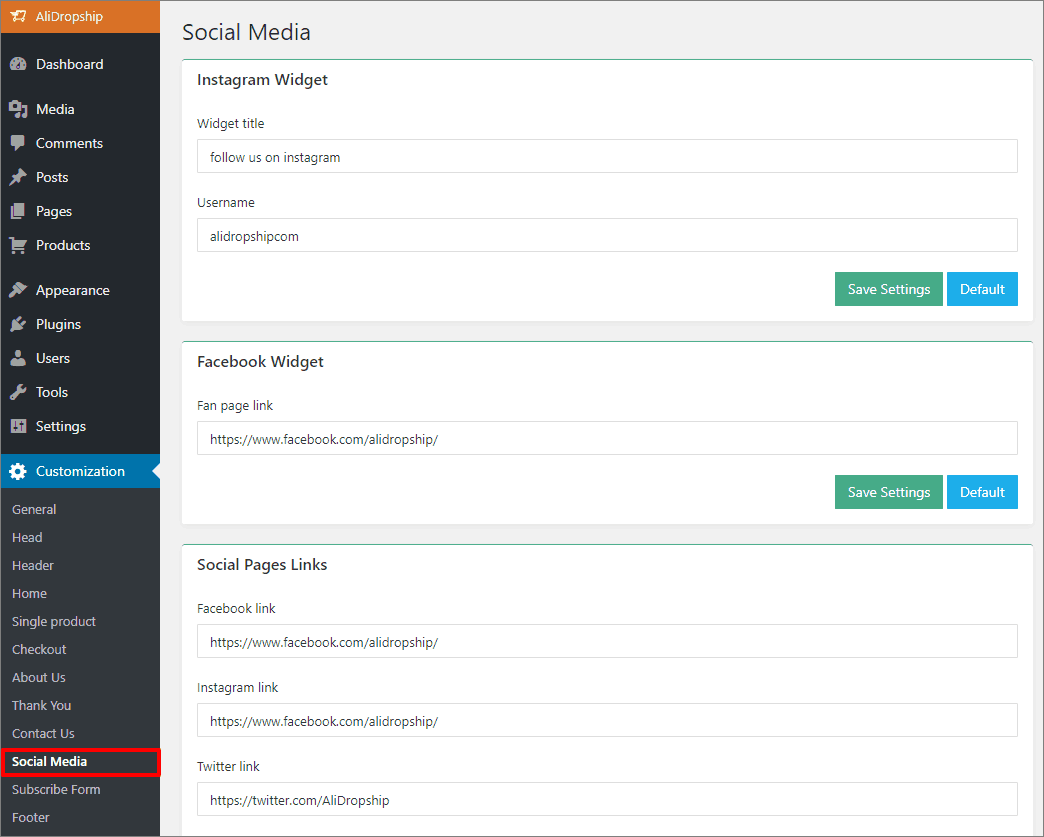
Social Media
To add your social media links, go to Social Media and fill in the appropriate fields.
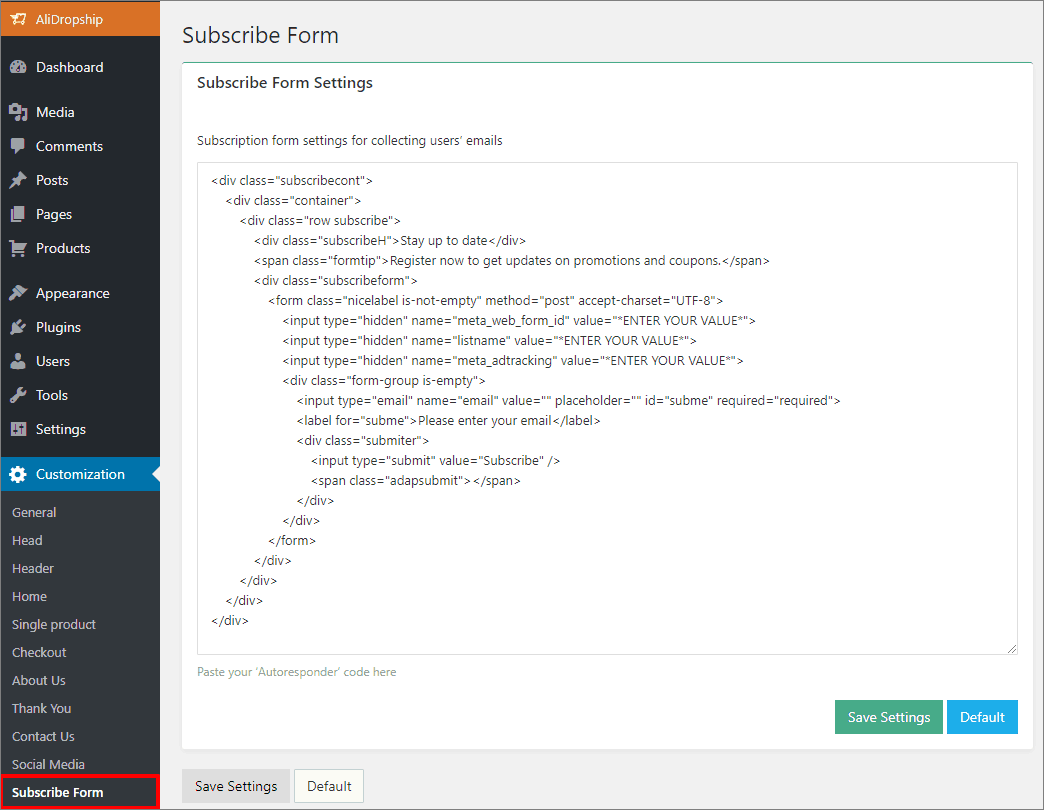
Subscribe Form
Paste your subscription form code here.
Footer
Change the look of your footer by adding payment, delivery and security proof icons.

Related Articles
About your site
About your site The use of our tools is totally free. They become available immediately after you register. Unlike traditional booking systems, we don’t charge anything to connect you to the network. Commissions from suppliers are 7% to 20%, ...How To Change Site Logo/Favicon?
How To Change Site Logo/Favicon? To alter the site logo and favicon, from the store dashboard go to: > Store Settings > Store Settings > Branding From within this page click 'Select image' to select files from your computer and upload them to replace ...Extension error: Please authorize your site
Extension error: Please authorize your site To start importing products you need first to authorize your site in the Alidropship Google Chrome extension. Click on AliDropship extension icon and Log in. If the authorization does not work or it works ...How Do I Backup My Site?
How Do I Backup My Site? Step 1: Download the All-in-One WP Migration plugin Step 2: Log into your Wordpress dashboard and go to: > Plugins > Add New > click 'Upload Plugin' (top of page) Step 3: Click 'Choose file' and choose the All-in-One WP ...How do I backup my site?
How do I backup my site? Step 1: Download the All-in-One WP Migration plugin Step 2: Log into your Wordpress dashboard and go to: > Plugins > Add New > click 'Upload Plugin' (top of page) Step 3: Click 'Choose file' and choose the All-in-One WP ...