How To Add, Remove & Rearrange Menu Items?
To 'Add a Item to a Menu', from the store dashboard go to:
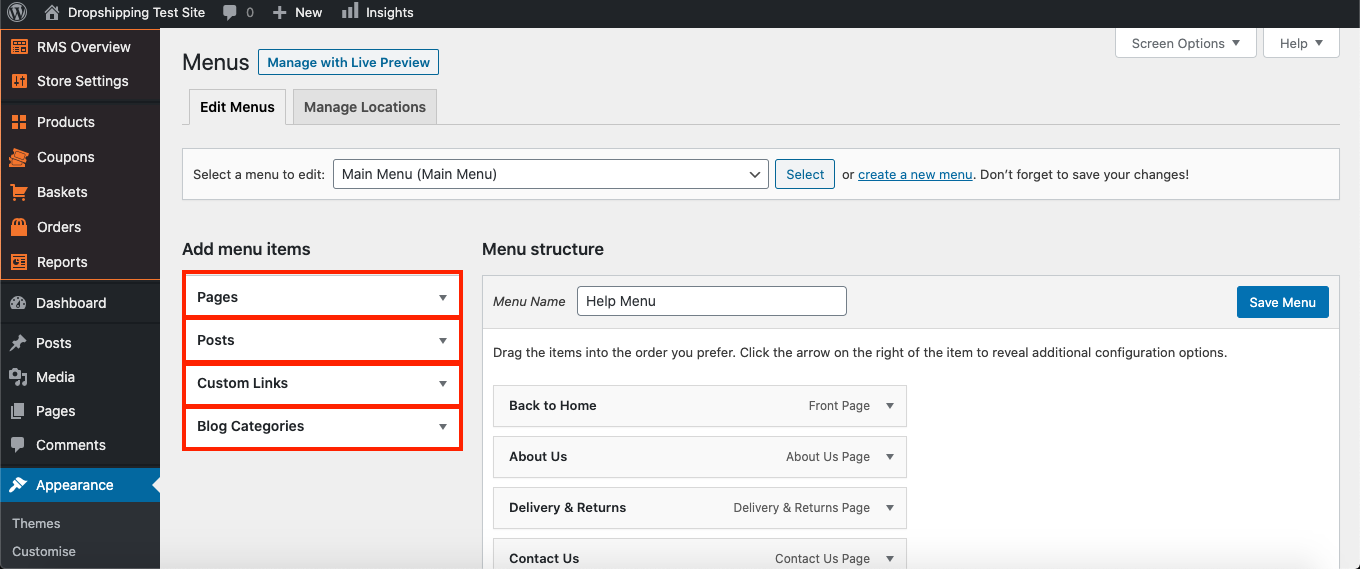
> Appearance > Menus
From within this page at the top, click the drop-down box next to where it says 'Select a menu to edit' and find the menu you'd like to edit, then click 'Select' to edit a specific menu on your store:

To add a specific 'page', 'post', 'custom link' and/or 'blog category', open up their corresponding drop-down on the left hand side:
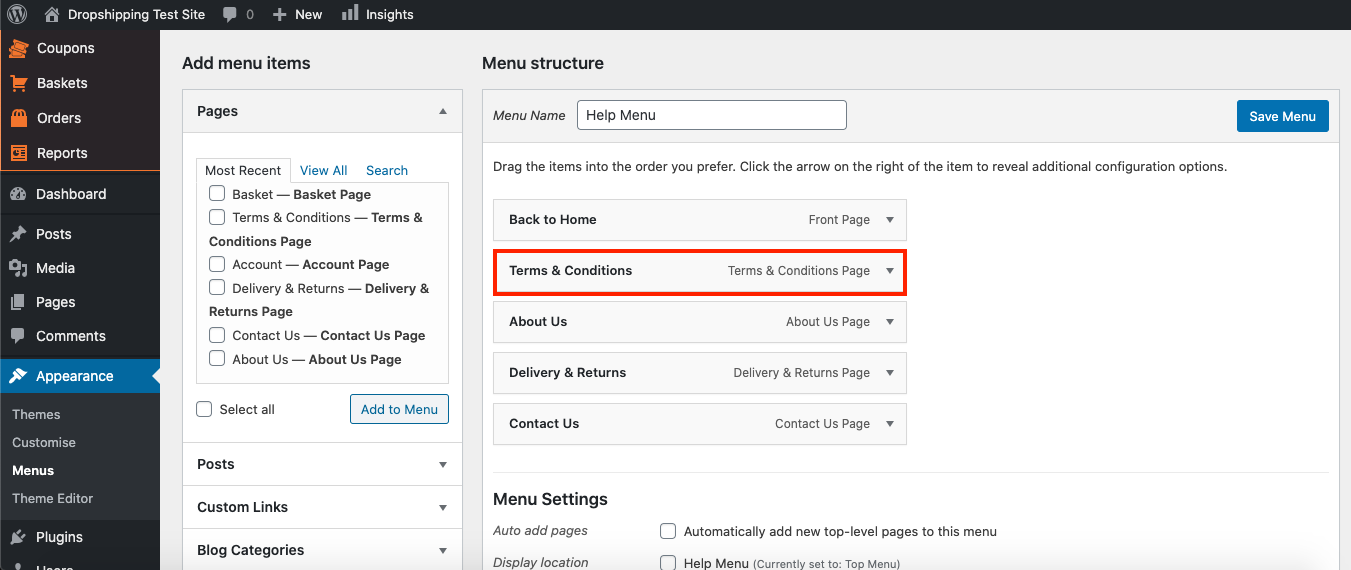
To add a 'page', 'post' and/or 'blog category', simply check the tick-boxes of the ones you'd like and click 'Add to Menu':

To add a 'custom link', input the url (for example: https://facebook.com/myfacebookpage) and apply a 'link text' (for example: 'My Facebook Page') into their corresponding fields so your customers know what they're clicking on, then click 'Add to Menu':

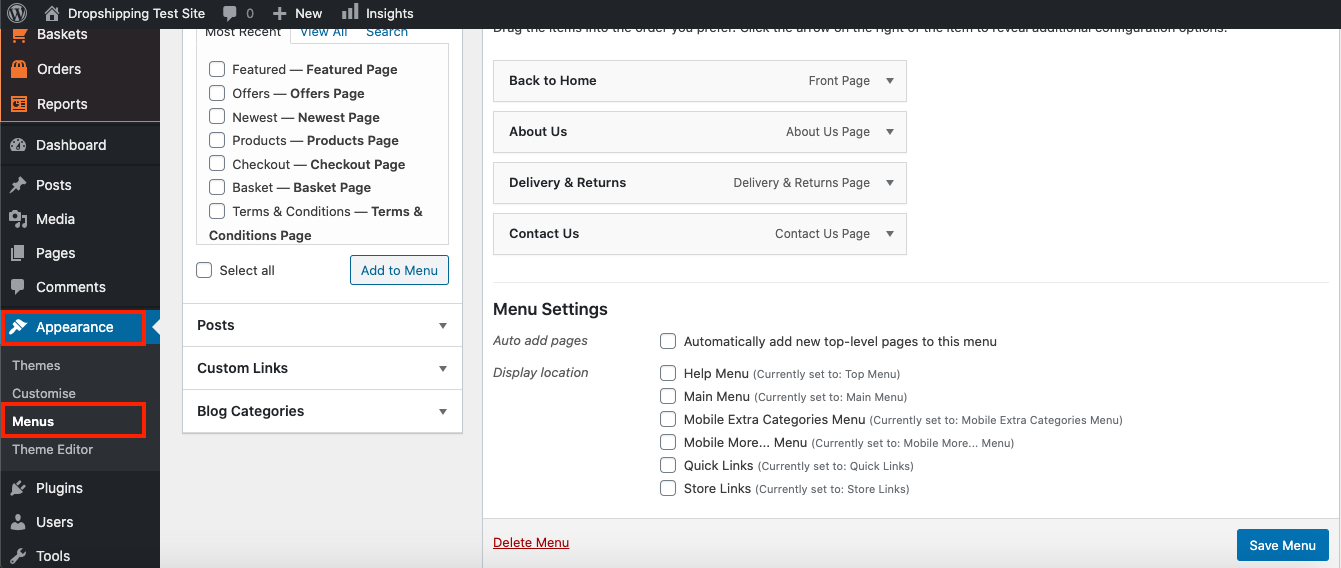
Your 'pages', 'posts', 'custom links' and/or 'blog categories' will then appear at the bottom of the 'Menu structure' over to the right hand side:

To rearrange the menus contents, simply drag and drop a menu item wherever you like:
To delete a menu item, click the arrow to right of it and then click 'Remove':

(*Once you're satisfied with the arrangement, don't forget to click 'Save Menu' at the top right*)
Related Articles
How To Add, Remove & Rearrange Menu Items?
How To Add, Remove & Rearrange Sub-Menu Items? To 'Add/Remove Sub-Menu Items', from the store dashboard go to: > Appearance > Menus From within this page at the top, click the drop-down box next to where it says 'Select a menu to edit' and find the ...How To Add Items To Menus?
How To Add Items To Menus? To 'Add an Item to a Menu', from the store dashboard go to: > Appearance > Menus From within this page at the top, click the drop-down box next to where it says 'Select a menu to edit' and find the menu you'd like to make ...How To Add/Remove Products To/From Product Categories?
How To Add/Remove Products To/From Product Categories? To add/remove 'Products' to/from 'Product Categories', from the store dashboard go to: > Products > All Products From within this page find the 'Product' that you'd like to add/remove to/from a ...How To Add reCAPTCHA?
How To Add reCAPTCHA? 'reCAPTCHA' is a CAPTCHA system that enables web hosts to distinguish between human and automated access to websites. It is used to prevent spam/scam emails from bots when using the 'Contact Us' page. To enable 'reCAPTCHA', ...How To Add Contact Information?
How To Add Contact Information? To add contact information, from the store dashboard go to: > Store Settings > Store Settings > Contact From within this page input your 'Email address', 'Phone number' and/or 'Trading address' into the corresponding ...